Showing posts with label technique. Show all posts

Thursday, April 27, 2023

Use of 60mm vs. 105mm macro lenses in underwater macro photography

Up to now, I shot all my underwater macro photography with a 105mm macro lens and eventually an external close up lens. This week I got a 60mm macro lens and I am curious what this will add to my underwater macro work.


When it comes to underwater macro photography, the choice of lens is crucial. Two popular options are the 60mm and 105mm macro lenses. While both have their benefits, they have different uses and purposes. In this article, we will delve into the differences between these two lenses and how they can enhance your underwater macro photography.

Focal Length
The most significant difference between the 60mm and 105mm macro lenses is their focal length. The 60mm lens has a shorter focal length, making it ideal for shooting smaller subjects or those that require close-up shots. On the other hand, the 105mm lens has a longer focal length, which is useful for capturing subjects that are further away or larger.

Working Distance
Another difference between the two lenses is the working distance. The working distance is the distance between the lens and the subject when the lens is focused on it. The 105mm lens has a longer working distance than the 60mm lens. This makes it easier to capture subjects that are more skittish or likely to move away when approached. The longer working distance also means that the 105mm lens can be used to capture subjects that are more dangerous or venomous.

Depth of Field
Depth of field refers to the range of distance in an image that appears sharp and in focus. The depth of field is affected by several factors, including the aperture setting and the distance between the lens and the subject. The 105mm lens has a shallower depth of field than the 60mm lens. This can be beneficial when you want to isolate a specific part of the subject or when you want to create a shallow depth of field effect.

Size and Weight
The size and weight of the lenses are also important factors to consider. The 60mm lens is generally smaller and lighter than the 105mm lens. This makes it easier to handle and maneuver, especially when shooting in tight spaces or underwater. The smaller size also makes it more convenient to travel with, as it takes up less space and adds less weight to your gear.

Price
Finally, the price is another factor to consider. The 60mm lens is generally less expensive than the 105mm lens. This makes it a more accessible option for photographers who are just starting with underwater macro photography or those who have a tighter budget.


In conclusion, both the 60mm and 105mm macro lenses have their advantages and disadvantages. The 60mm lens is more suitable for shooting smaller subjects or those that require close-up shots, while the 105mm lens is better for capturing larger or more distant subjects. The working distance, depth of field, size, weight, and price are all factors that you should consider when deciding which lens to use. Ultimately, the best lens for you will depend on your specific needs and preferences as a photographer.

Friday, January 6, 2023

Shooting Aerial Photography from a Microlight Plane

Illustrative images are from a recent project shooting in the area of Siem Reap, Cambodia.

Shooting photography from a microlight plane can be an exciting and unique way to capture aerial perspectives, but it's important to take certain precautions to ensure that you get the best results. Here are a few things to consider when shooting photography from a microlight plane:


  1. Safety: First and foremost, it's important to prioritize safety when shooting from a microlight plane. Make sure that you are wearing all necessary safety equipment, including a seatbelt and a helmet. Follow the instructions of the pilot and pay attention to any safety briefings or demonstrations.

  2. Camera equipment: Choose your camera equipment carefully. A camera with a high megapixel count and a good lens will be important for capturing clear, detailed images. Consider using a camera with image stabilization to reduce blur caused by the movement of the plane. It may also be a good idea to bring a backup camera in case of any issues.

    - I was using a Nikon D800 with 70-200m f2.8 lens

  3. Composition: Consider the composition of


    your shots carefully. Look for patterns, lines, and other compositional elements that will help to create a sense of depth and balance in your images. Pay attention to the position of the sun and how it is affecting the lighting in your shots.
  4. Timing: Be mindful of the timing of your shots. The best light for aerial photography is often early in the morning or late in the evening, when the sun is low in the sky. This can create beautiful, golden light that can add warmth and depth to your images.
  5. Communication: Finally, be sure to communicate with the pilot about your photography goals and needs. Let them know if you need to fly at a specific altitude or angle to get the shots you want, and be open to their suggestions as well.

Here are a few additional tips for shooting photography from a microlight plane, specifically related to photography technique:

  1. Use a fast shutter speed: To freeze the movement of the plane and reduce blur caused by motion, use a fast shutter speed. A speed of at least 1/1000th of a second is recommended. - Most of my images from the microlight flights were shot at 1/1000th or 1/2000th of a second


  2. Shoot in manual mode: Shooting in manual mode will allow you to have more control over the settings of your camera, including the aperture, ISO, and white balance. This can be especially important when shooting from a microlight plane, as the lighting and conditions can change rapidly.


  3. Experiment with angles: Don't be afraid to experiment with different angles and perspectives. Try shooting from different positions within the plane, such as looking out the side windows or even laying on the floor. This can help you to capture unique and interesting perspectives that might not be possible from a traditional aircraft.


  4. Use a polarizing filter: A polarizing filter can help to reduce glare and reflections, allowing you to capture clearer images. This can be especially useful when shooting over bodies of water or other reflective surfaces.


  5. Bracket your exposures: To ensure that you have a range of exposures to choose from, consider using the bracketing function on your camera. This will allow you to take multiple shots at different exposures, giving you more options when it comes to post-processing.

By following these tips, you can improve your technique and capture stunning aerial photographs from a microlight plane.

Wednesday, December 28, 2016

Creative Photography Techniques - Bottled Finnish Landscapes

Bottled Finnish Landscapes by Christoffer Relander: interesting and surrealistic pieces of art captured on film.

Read the article at thisiscolossal.com for detailed explanations and further examples. link

This effect is achieved by using double exposure technique.
The first shot is an exposure of the glass in front of an illuminated white background. Light is set up in a way that the glass area turns out underexposed or almost perfectly black while the illuminated background area is completely overexposed or burnt out.
In order to give the glass some plasticity and three dimensional look there need to be some reflections on the glass and shadows on the base ground.

The second exposure is in nature capturing a beautiful landscape and exposing the non or underexposed area of the glass. This second step implants the landscape into the glass.

The effect is gorgeous.

I am wondering if this can be done on digital too.
Technically there should be no issue. So, let's go out and try it.


Watch the documentary on how it is done:


Friday, December 16, 2016

Underwater Photography - Strobe Techniques

One of the most difficult aspects of underwater photography is using the right lighting technique. Using strobes is more difficult underwater than on land given the reduced reach of the flash and the narrower angle of illumination.

Seacam offers a very good training in their underwater photography academy: link

Another source is the tutorial on strobe positions by Scott Gietler at http://www.uwphotographyguide.com/underwater-photography-strobe-positioning

In the end all theory is helpful but the only thing to good results is practice and patience.

As you can see in the following video from our last underwater photography expedition to the Maldives, positioning of strobes as well as using the right settings can be subject to discussion.


Monday, October 17, 2016

Black and White - Technology Photography

eight by Shigehiro Ono on 500px.com
eight - Shigehiro Ono (500px)
ELECTRONICS by JAWAD ALI on 500px.com
Electronics - Jawad Ali (500px)
Usb by Victor Velasco on 500px.com
Usb - Victor Velasco (500px)
old school clock by Daniel Pachnis on 500px.com
old school clock - Daniel Pachnis (500px)
tech support by Sean Gladwell on 500px.com
tech support - Sean Gladwell (500px)


Friday, October 14, 2016

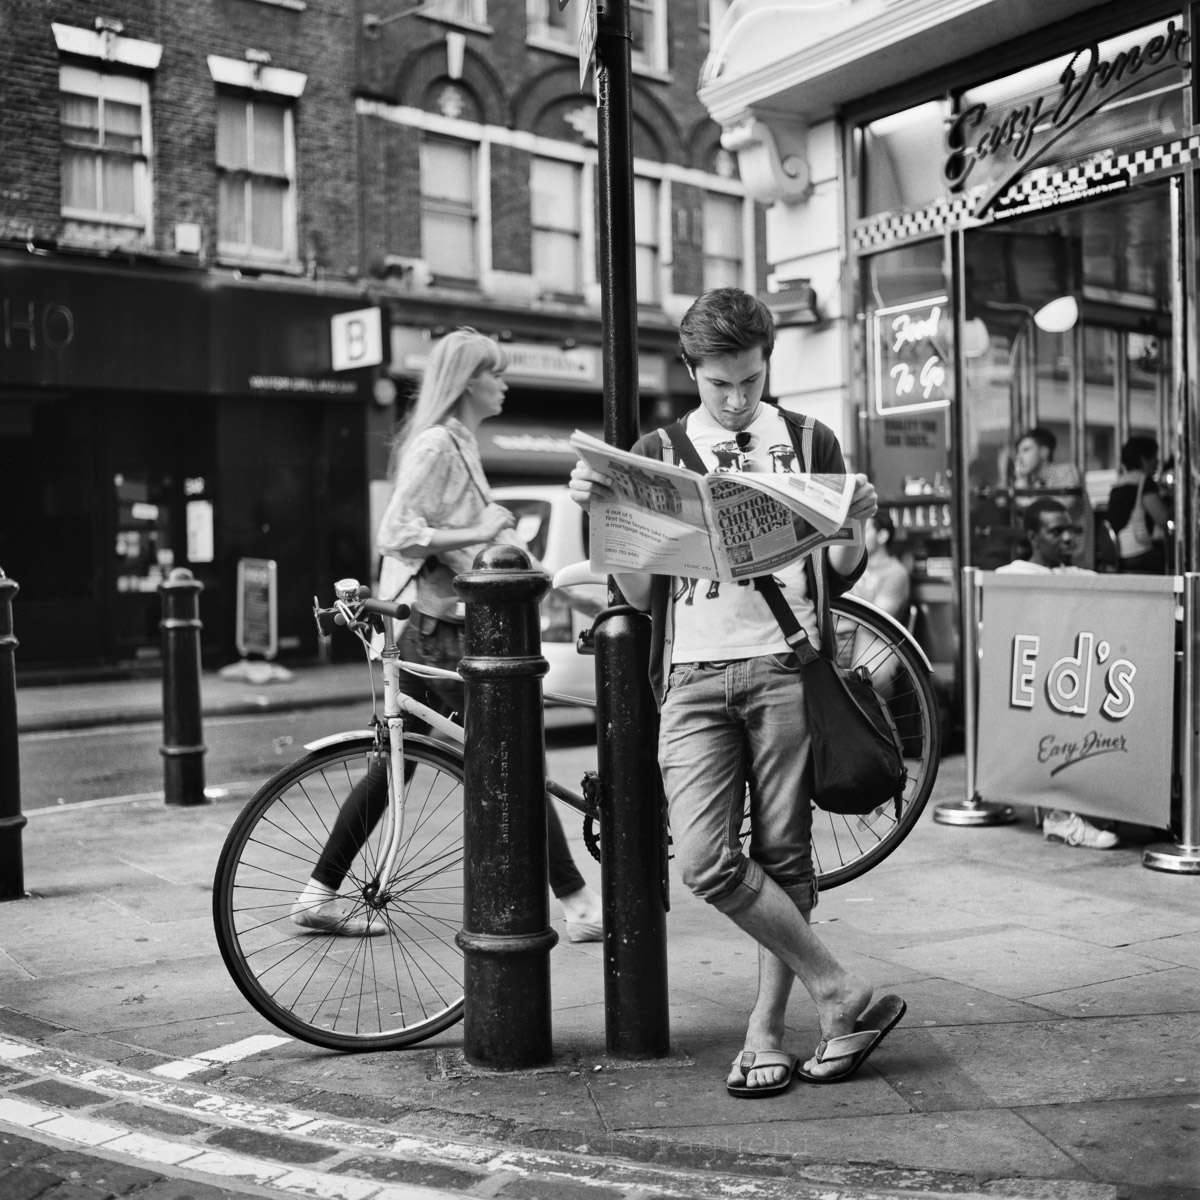
Photography Tutorial: Street Photography

Street photography is a photographic discipline taking pictures in the street mostly not being noticed by subjects, or composing captures out of situation.

An interesting tutorial by photography Matt Stuart can be found on techradar.com

Or one by Drew Hopper at petapixel.com

The tree main messages are:

- Get close to subjects:
Getting close to subjects, right into the scenery using a wide-angle lens is key in capturing the unique moment. Using this technique gives the viewer the feeling being right in the middle of the scene.

- Image quality isn't everything:
In any photography image composition should have higher priority than technical image quality. In street photography capturing the moment this is even more important.

- Learn to work fast:
To capture the dynamics and feeling of street life you need to be quick. Intervention with the situation and the subjects shall be minimal. In order to achieve this you need to be quick. Quicker than subjects to react to the fact you taking their picture.

Thursday, August 11, 2016

How to use a light meter

When using old analog cameras for your photography, determining the right exposure can be tricky. First of all old cameras do not have built in light meters, and second there is no immediate control on a display. You only know about the correct exposure once you developed the film.
Watch this educative video by Mark Wallace explaining how to use a light meter.
It is not only limited to film photography, but also to measure the right exposure for digital photography under special or difficult conditions.


Thursday, May 5, 2016

Exercises for Photographers

Nobody is just an outstanding photographer. There might be some creativity genes. But, being a good photographer needs exercise.

Todd Vorenkamp compiled 13 exercises for creative photographers on B&H.
Read them through and get started: 13 Creative Exercises for Photographers

Thursday, February 25, 2016

Creative Nature Photography

Nature photography can be purely documentary, or it can be a form of innovative creativity and art.

In this post I compiled some background on an example of very creative nature photography. Be it by means of composition, capture, or exposure.

Ice Study by Henry Liu on 500px.com

The left hand image shows a researcher on a frozen lake at night. It is a master piece in image composition and exposure.

Title: Ice Study

Photographer: Henry Liu
Source: 500px

Comment by photographer: A self-portrait of me studying ice on frozen Georgian Bay, Lake Huron, about one hour after sunset.

Image details by photographer:
Nikon D800E, 13-24mm f2.8 (at 14mm, f2.8, 30s, ISO 100)
Focus stacking for full depth sharpness (6 shots at f2.8)


Both, the sky covered with starlight and the bright light from the flash light falling through the clear ice ad a third dimension and depth to the image. Scratches in the ice, producing diffuse white light from the flash light, add texture and some line and guidance for the viewer towards the person holding the flash light.

The image exhibits a very wide dynamic range from true white - the ice illuminated by the flash light -  towards true black - the mountains at the horizon.
The color spectrum is immense with strong whites, strong blacks, the greenish color of lake topography shimmering through the ice, the dark blue of the night sky, and everything in between covering lila, purple, red, ...

With all these photographic elements covered. This image is a nature photography which not only documents the sunset and upcoming starlight over frozen Lake Huron. The photographer added artistic elements and creative dimensions to the image by illuminating parts of the ice surface and the lake underneath with his flash light.

Saturday, January 30, 2016

Shooting into the sun

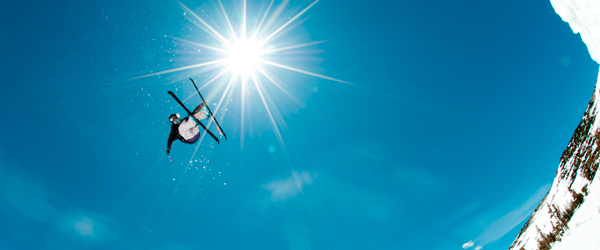
As it is sunny weather today I thought some web resource on how to shoot great pictures directly into the sun could be valuable.

Usually we are told at photography school to always make sure the sun is in our back while shooting. Reason for that is mainly the automatic exposure metering which gets confused if exposed to such high contrast sceneries with direct sunlight and harsh shadows.

However, knowing how to play with exposure  and fill lights shooting directly into the sun can lead to very creative special effects, creative image composition, and images rich in contrast and color dynamics.

Here a how-to at digital-photography-school:
http://digital-photography-school.com/how-to-shoot-in-direct-sunlight/

Monday, April 6, 2015

One Roll of Film project

A very interesting project, four Tokyo-based photographers taking the challenge of shooting one roll of 120 film on a old Hasselblad analog camera.

A fantastic idea, documenting the process of taking exceptional pictures. Compared to digital the photographers start to think much more about composition of the image, about the light, about the camera setting, they develop patience, they develop a vision of what they are going to shoot first.

Learning about this project on YouTube and watching the documentary, I became much more aware of what it means to take exceptional pictures, about how to deal with all the details in the process.
It's about really developing the handcraft of the art of photography.

Have a look at the documentary:


Links to respective photographers website:
Mattias Westfalk
Richard Atrero de Guzman, Bahag
Yoshiki Suzuki
Paul del Rosario

Sunday, October 7, 2012

Eye for Photography

What makes the "eye for photography"?


Read the following article: Eye for Photography

Professional vs. Amateur:
- factor three in time
- factor three in number of taken pictures